
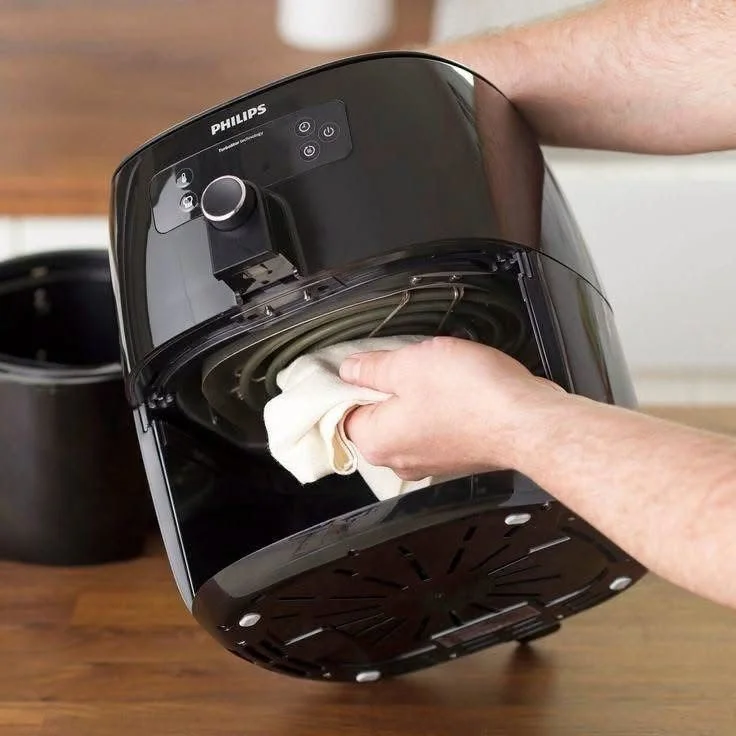
Air fryers have become a favorite kitchen appliance for people who want to prepare crispy meals with less oil than traditional deep-frying. From golden French fries and roasted vegetables to chicken wings and fish, these convenient appliances can make everyday cooking easier.
However, there is one problem that many air fryer owners eventually face: cleaning.
After several uses, grease can accumulate inside the basket, crumbs can collect beneath the heating element, and stubborn food residue can stick to the cooking surface. If the appliance is not cleaned regularly, these deposits may produce unpleasant odors, smoke, and unwanted flavors during cooking.
The good news is that cleaning an air fryer does not have to be difficult. With a little warm water, mild dish soap, a soft sponge, and the right technique, you can remove most everyday grease without damaging the appliance.
The secret is to clean the removable components carefully, avoid harsh abrasives, and never forget the area around the heating element.
Here is a complete guide to cleaning your air fryer safely and effectively.
1. Unplug the Air Fryer and Let It Cool
Before cleaning your air fryer, switch it off, unplug it from the electrical outlet, and allow it to cool completely.
This is one of the most important safety steps.
Air fryers use powerful heating elements that can remain hot after cooking. Touching these components too soon can cause burns.
Never pour water into a hot air fryer or immerse the appliance’s main electrical unit in water.
Once the appliance has cooled, place it on a stable, dry surface with enough room to remove the basket and other detachable components.
If you have just cooked food with a lot of grease, allow the appliance to cool before attempting to remove any residue.
Important: Always consult your air fryer’s instruction manual before cleaning, because removable parts and approved cleaning methods vary between models.
2. Remove the Basket and Cooking Tray
Most air fryers have a removable basket, drawer, crisper plate, or cooking tray.
Take out the removable components according to the manufacturer’s instructions.
Place them in the sink and inspect them for grease, crumbs, and stuck-on food.
Removing these parts makes cleaning easier because you can reach the corners and edges where residue tends to accumulate.
If the components are dishwasher-safe, you may be able to clean them in the dishwasher. However, handwashing is often a gentle option, especially for parts with nonstick coatings.
Check the manufacturer’s recommendations before placing any component in a dishwasher.
Avoid using metal utensils to scrape off food, as they may scratch the coating and make future cleaning more difficult.

